


![4 Steps to Install WordPress on Debian/Ubuntu Server [2024]](https://asapguru.com/wp-content/uploads/2024/09/4-Steps-to-Install-WordPress-on-DebianUbuntu-Server-2024.png)
Debian and Ubuntu are both of the most popular Linux distributions. Those are used in various cloud platforms and also in local machines. Today in this article, I will explain the steps of installing WordPress on these machines.
These machines could be Virtual Machines or Local machines such as computers. In this tutorial, we will use Debian 10 for WordPress installation; as I have mentioned in the title, you can also use Ubuntu 16.04 or Ubuntu 18.04.
So, let’s get started!
Install WordPress on the Debian/Ubuntu Server
I will explain the simple four steps for the installation of WordPress on Debian 10. You can also use the same command lines for Ubuntu 20.04 distro. Debian and Ubuntu are very similar in the case of their command line.
Installing WordPress CMS, some required programs are needed to Install before WordPress.
- Apache Server
- PHP
- MySQL or MariaDB Database
- phpMyAdmin (Optional)
Step – 1. Install Apache Server With the Latest PHP
WordPress is a web application, and of course, you need to have a running web server on your system (virtual machine or local computer). WordPress is also compatible with other servers like Nginx and LiteSpeed.
In the meantime, WordPress also can be installed in a Cluster Container like Docker or Kubernetes.
In this tutorial, we are going to use the Apache webserver so, open Terminal or SSH session and type:
sudo apt-get updateCheck PHP version or Installed in the system or not.
php -vIf PHP is not found shows, then we are going to install the PHP.
So first, we need to add the newest PHP repository key and repository list, for this process follow these commands:
sudo apt -y install lsb-release apt-transport-https ca-certificatessudo wget -O /etc/apt/trusted.gpg.d/php.gpg https://packages.sury.org/php/apt.gpg 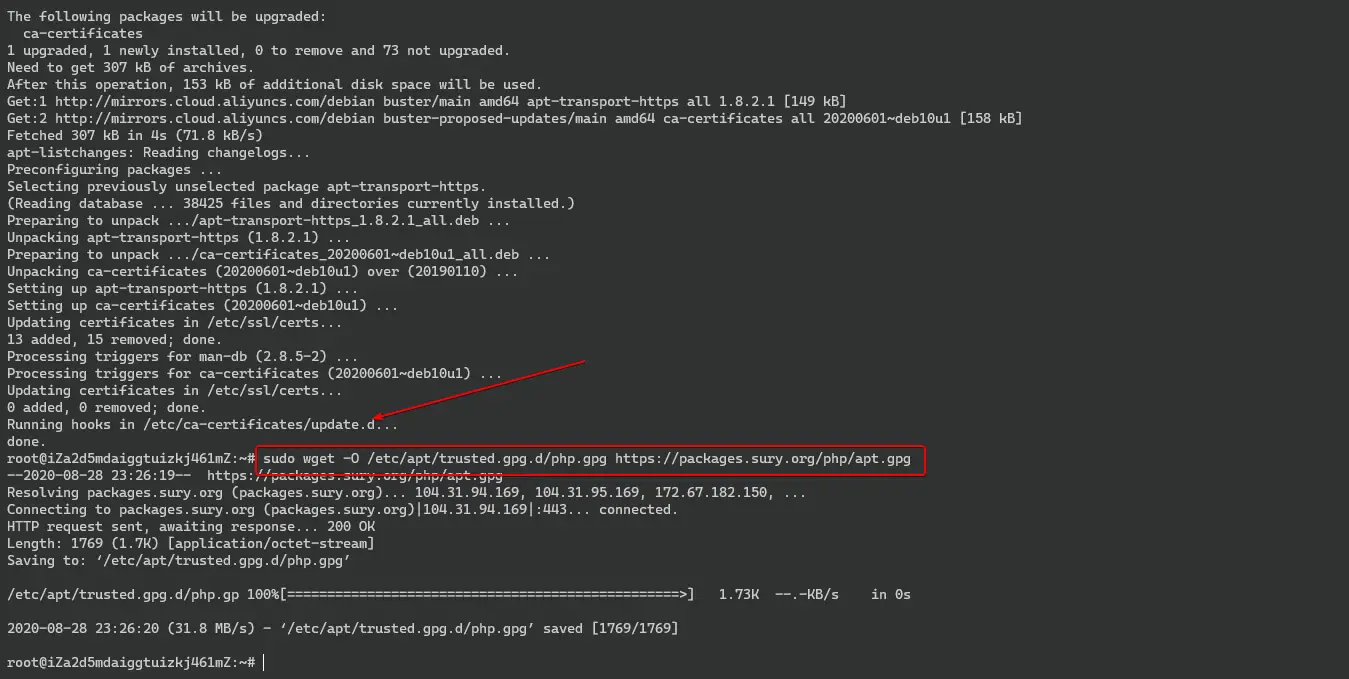
Now, add the repository list.
echo "deb https://packages.sury.org/php/ $(lsb_release -sc) main" | sudo tee /etc/apt/sources.list.d/php.list

Now Install the Latest PHP 7.4 version by using the following commands:
sudo apt update

sudo apt install php7.4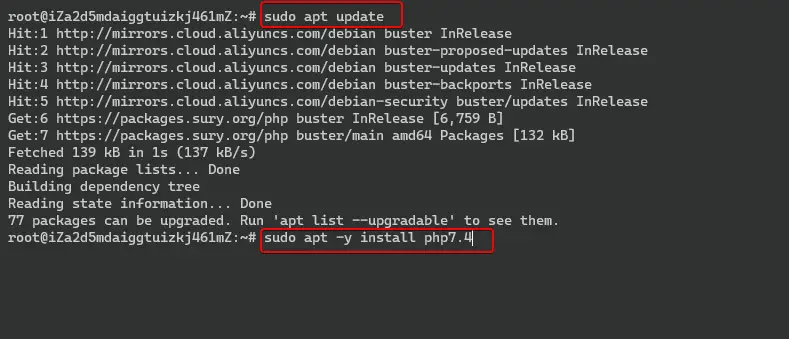
Now check the PHP version; if installed, then it will look like as below in the image.
php -v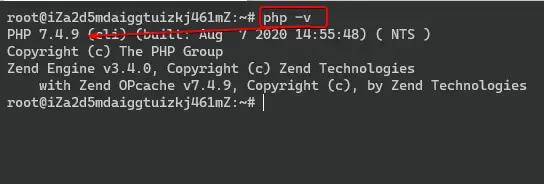
Now install Apache and the latest PHP modules.
sudo apt install apache2 php7.4 libapache2-mod-php7.4 php7.4-common php7.4-mbstring php7.4-xmlrpc php7.4-soap php7.4-gd php7.4-xml php7.4-intl php7.4-mysql php7.4-cli php7.4-ldap php7.4-zip php7.4-curl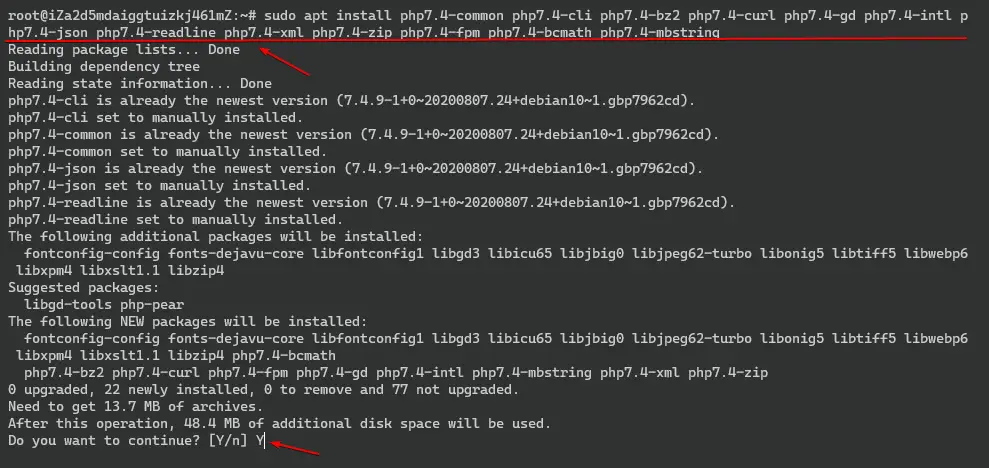
Now enable PHP fpm for the Apache server.
sudo a2enmod proxy_fcgi setenvif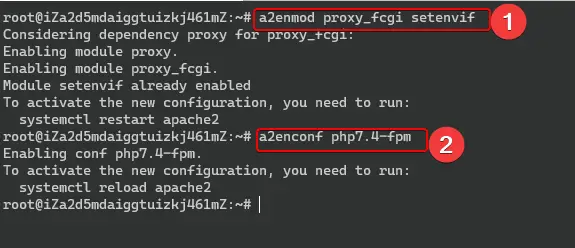
Then restart the Apache server using the following command:
sudo systemctl restart apache2After the successful installation of the Apache server and PHP, we need to test the programs it is installed or not.
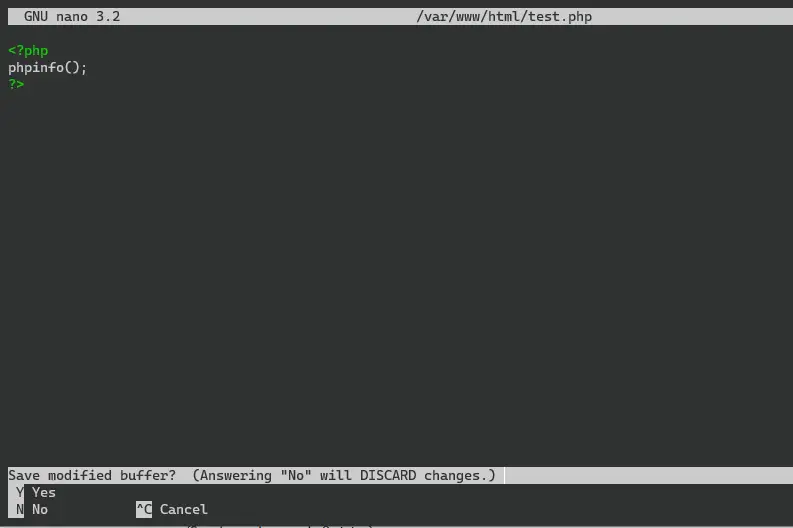
sudo nano /var/www/html/test.phpNow copy these PHP lines and paste them into your terminal (as shown in the image below):
<?php
phpinfo();
?>
Now hit CTRL+X enter “Y” and hit the Enter key to save the file.
After saving the file, you need to open your IP address in this format https://your-ip-address/test.php.
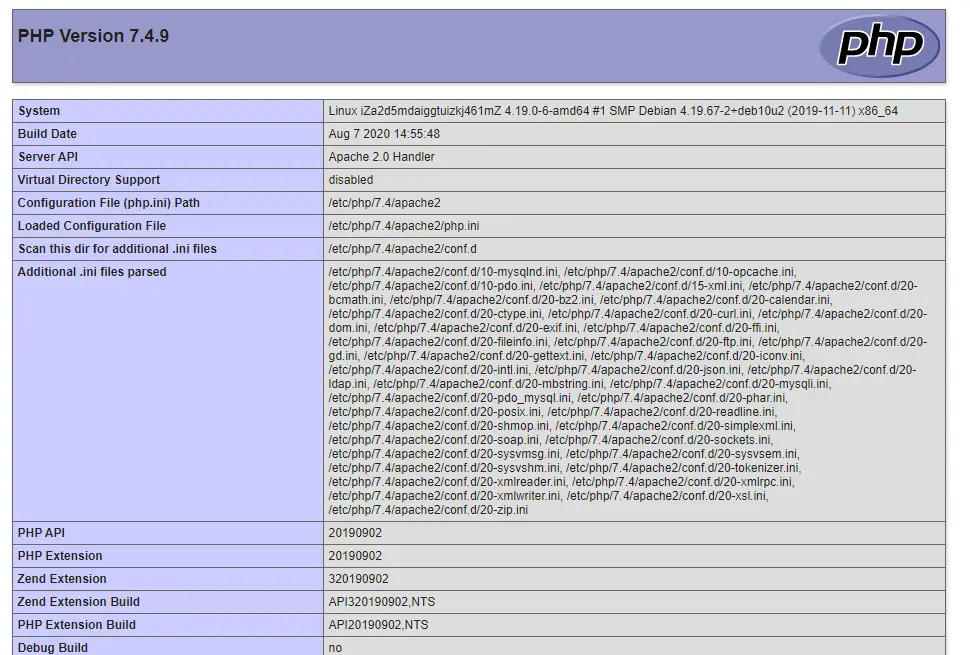
If your browser window looks like that and shows the PHP version and other details, that means your installation is successful.
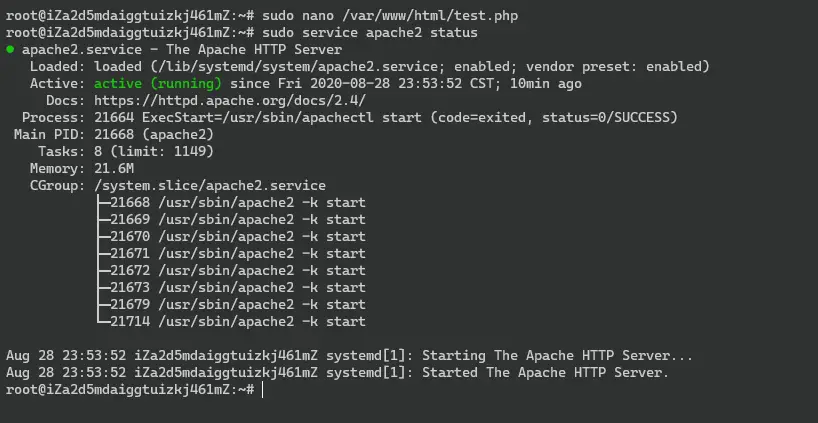
You can also use the command to check that, is your Apache server is working or not.
sudo service apache2 status
Step – 2. Installation of Database
WordPress requires a database in the backend for managing all the data in structural table format. In this case, MySQL or MariaDB is one of the best choices for the WordPress database.
To install the database, you need to run the following commands:
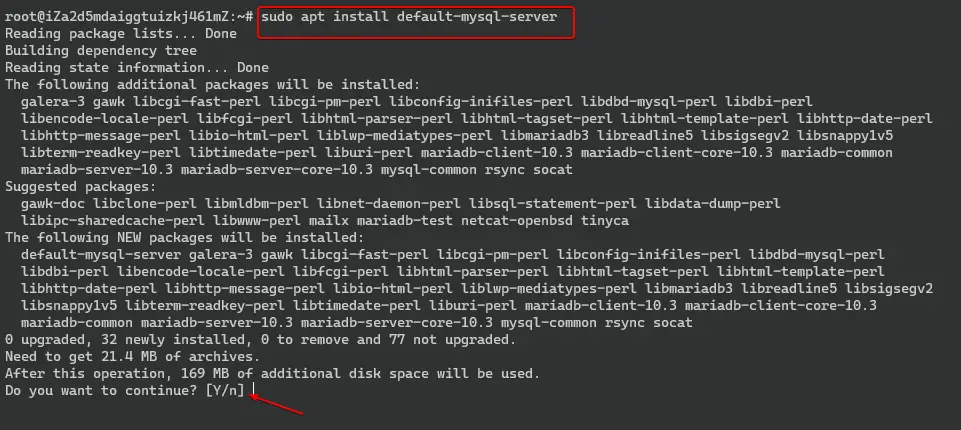
sudo apt install default-mysql-server
After the successful installation of the Database, we need to secure it by password, for this step run the following command.
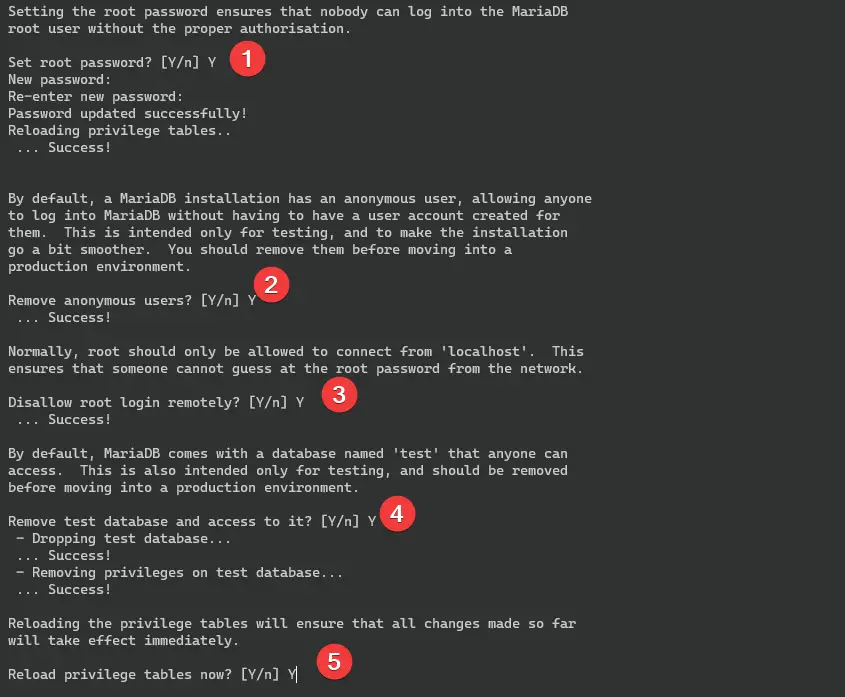
sudo mysql_secure_installation
This process will prompt five questions, and you need to enter “Y” for the answers. In the first question, enter “Y” and set a new password for the database.
Now, that we have secured our Database, now need to create a new database with a new user for WordPress. So, run the following commands.
sudo mysql -u root -p
CREATE DATABASE wordpress;
CREATE USER 'wordpress_user'@'localhost' IDENTIFIED BY 'wordpress_pss123';
GRANT ALL PRIVILEGES on wordpress.* TO 'wordpress_user'@'localhost';
FLUSH PRIVILEGES;
EXIT;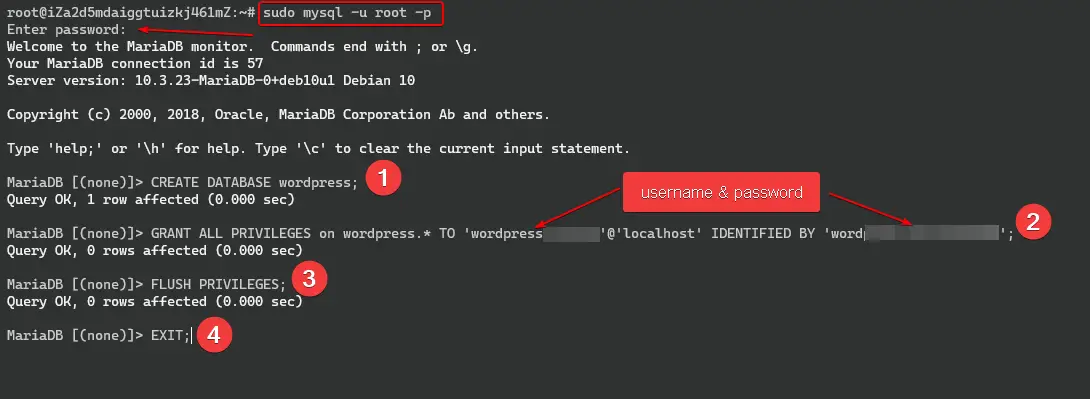
Now check the database list for confirmation, use the following commands:
mysql -u root -p
*enter your password
SHOW DATABASES;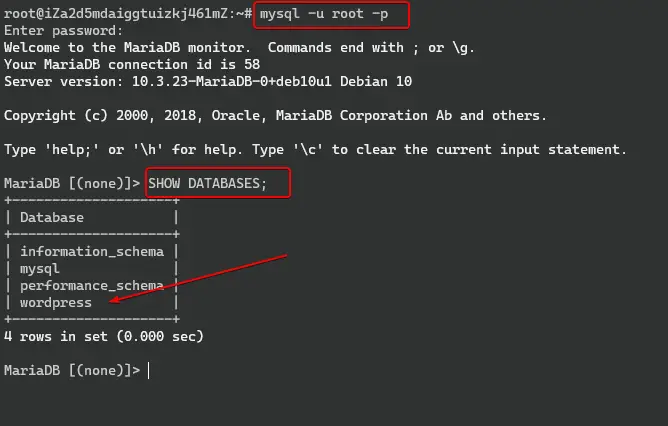
Database creation is successful; next is the installation of WordPress.
Step – 3. Install WordPress on the Debian or Ubuntu Server
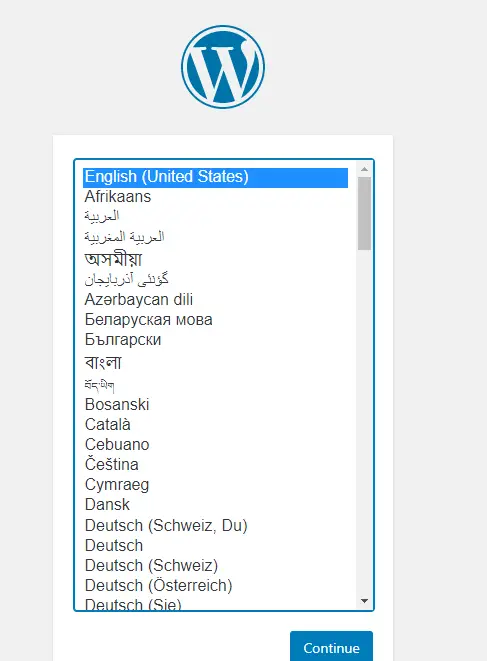
Now in this step, I am going to Install WordPress CMS on our system. For this process, we need to use wget syntax for downloading the WordPress compressed file. So, run these commands for installing WordPress.
First, change the directory to.
cd
Now run the following command for WordPress.
wget -c https://wordpress.org/latest.tar.gz
When the download has been completed, we need to decompress the WordPress Source files and move them to the /var/www/html/ directory. Next, we need to set write permission to the directory.
tar -xvzf latest.tar.gz
sudo mv wordpress/ /var/www/html/
Here we have used mv (move command), perhaps you can use the rsync command for just copying the files.
sudo chown -R www-data:www-data /var/www/html/wordpress/
sudo chmod 755 -R /var/www/html/wordpress/

Now, create a new virtualhost for WordPress, so whenever you type just your naked domain (exmaple.com; without www or http) it will open correctly with the right protocol in any browser.
Use the following command to create a new virtualhost for WordPress.
sudo nano /etc/apache2/sites-available/wordpress.conf
And add the following lines:
<VirtualHost *:80>
    ServerAdmin admin@example.com
      DocumentRoot /var/www/html/wordpress
    ServerName example.com
    ServerAlias www.example.com
     <Directory /var/www/html/wordpress>
          Options FollowSymlinks
          AllowOverride All
          Require all granted
    </Directory>
     ErrorLog ${APACHE_LOG_DIR}/example.com_error.log
    CustomLog ${APACHE_LOG_DIR}/example.com_access.log combined
</VirtualHost>
Note:- replace “example.com” with your actual domain name. Save to this file hit CTR+X enter Y and Enter.
When your new Virtualhost file creation is done, we need to rewrite the Apache module and then reload or restart the Apache server. So, for this process, we need to follow these commands.
sudo ln -s /etc/apache2/sites-available/wordpress.conf /etc/apache2/sites-enabled/wordpress.confsudo a2enmod rewrite
sudo systemctl restart apache2  Now our server-side installations have been completed. Now, we need to configure WordPress.
Step – 4. WordPress Configuration With Database
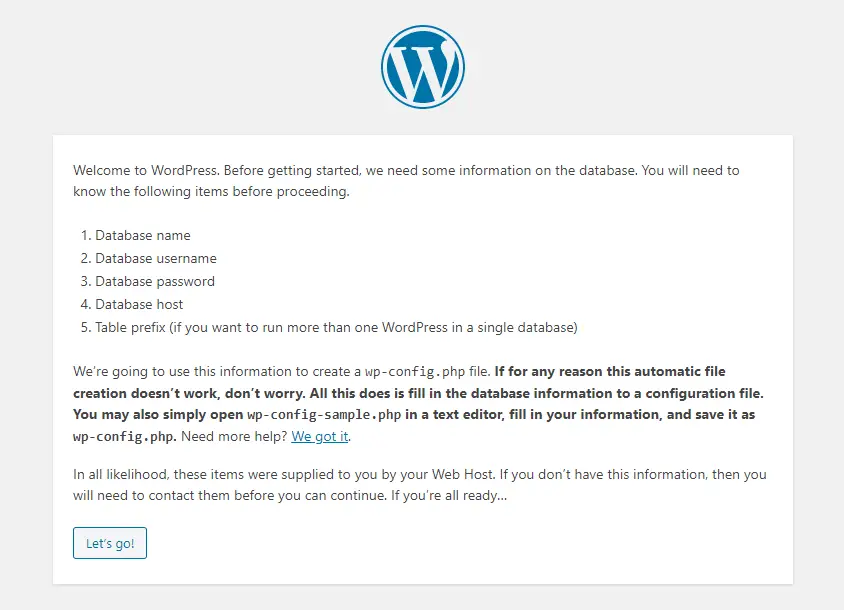
Now, you need to open your domain name in the new browser tab as “example.com.” When you open your domain name, as shown in the picture, you will also be prompted to select your language.
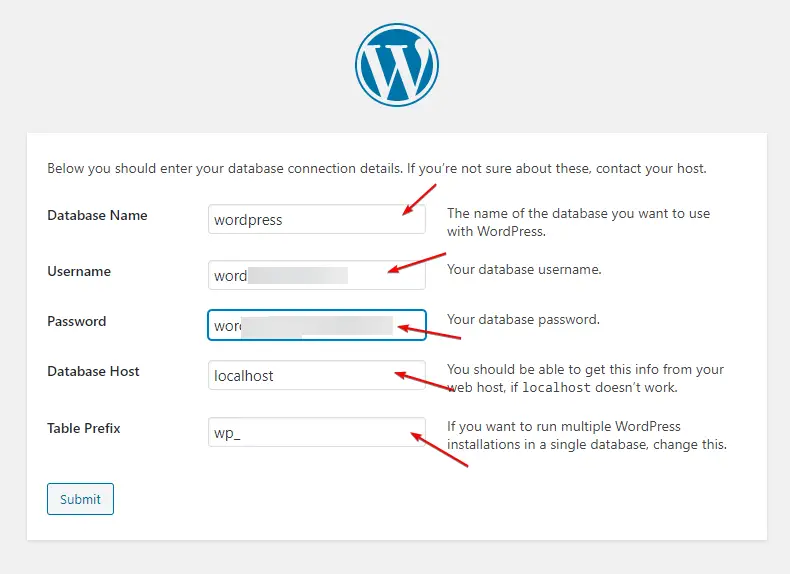
After selecting the language, you will be prompted to configure your database with your WordPress CMS.
Now fill in all the credentials of the database, which we have created in the second step.
After filling in the credentials of the database, WordPress will prompt you to run WordPress installations, so click on “Run the installation.”
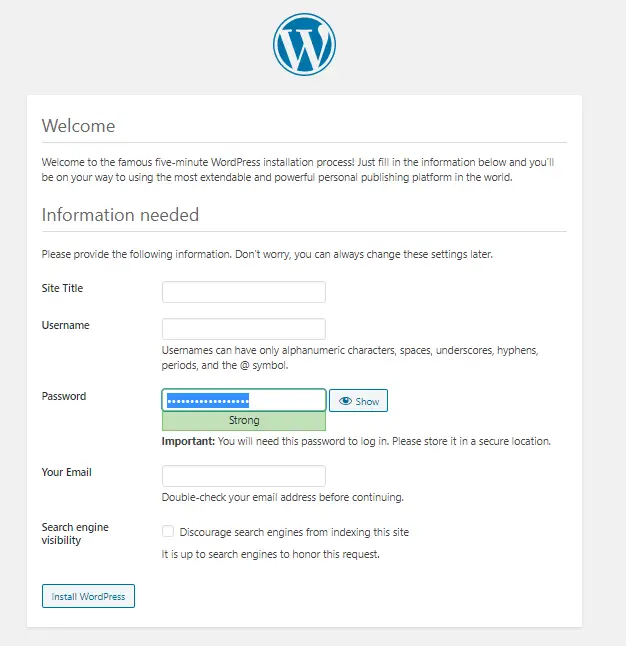
Then configure WordPress Admin credentials and Website Name.
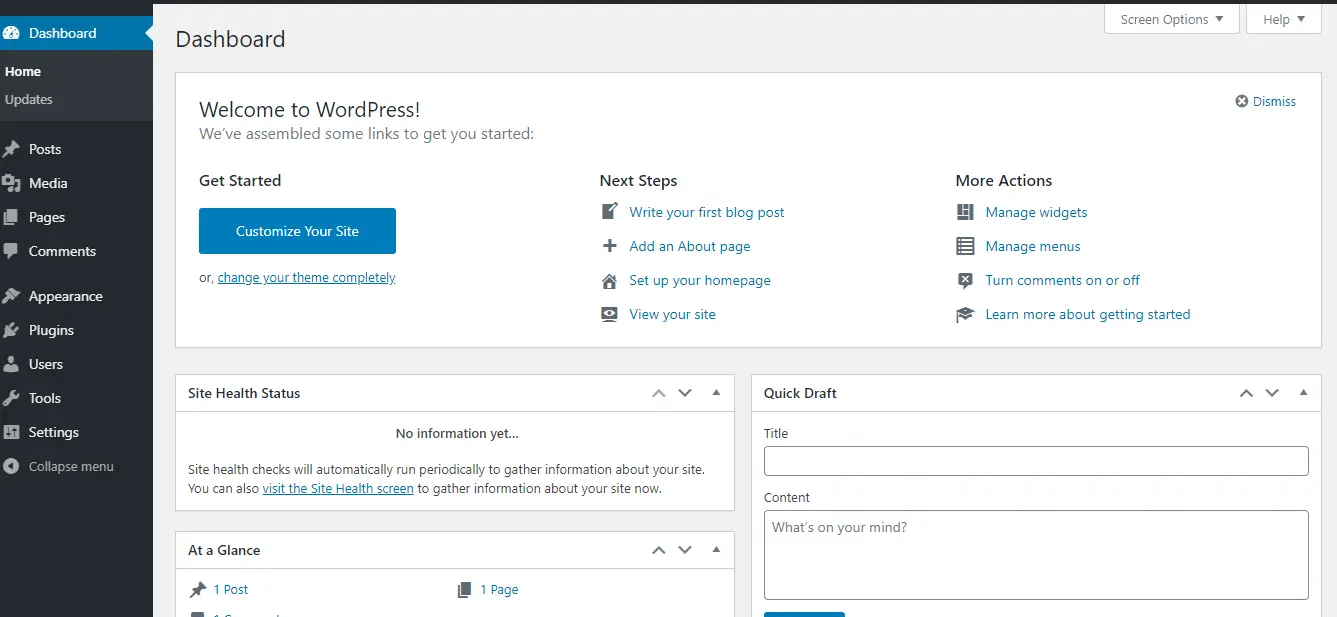
Now login to your WordPress Dashboard.
Okay, guys, that’s it for today’s tutorial.